Showing posts with label how to. Show all posts

Thursday, March 2, 2017

DIY Olive Oil Lamp

Olive oil lamps burn very small quantities of oil. They are the essence of economical lighting and more affordable than most candles. I love to add a few drops of essential oils like tea tree or lavender to the oil; it smells divine.

I made this DIY olive oil lamp with a half pint mason jar. Be creative with lamp vessels - fabricating an olive oil lamp using a sea shell can be fun! There are many appropriate glass, metal or stone containers for creating olive oil candles. Plastic and wood are not recommended for use as lamp vessels. If you burn your lamp in an open bowl, dip your fingers into the warm oil to use as massage oil.


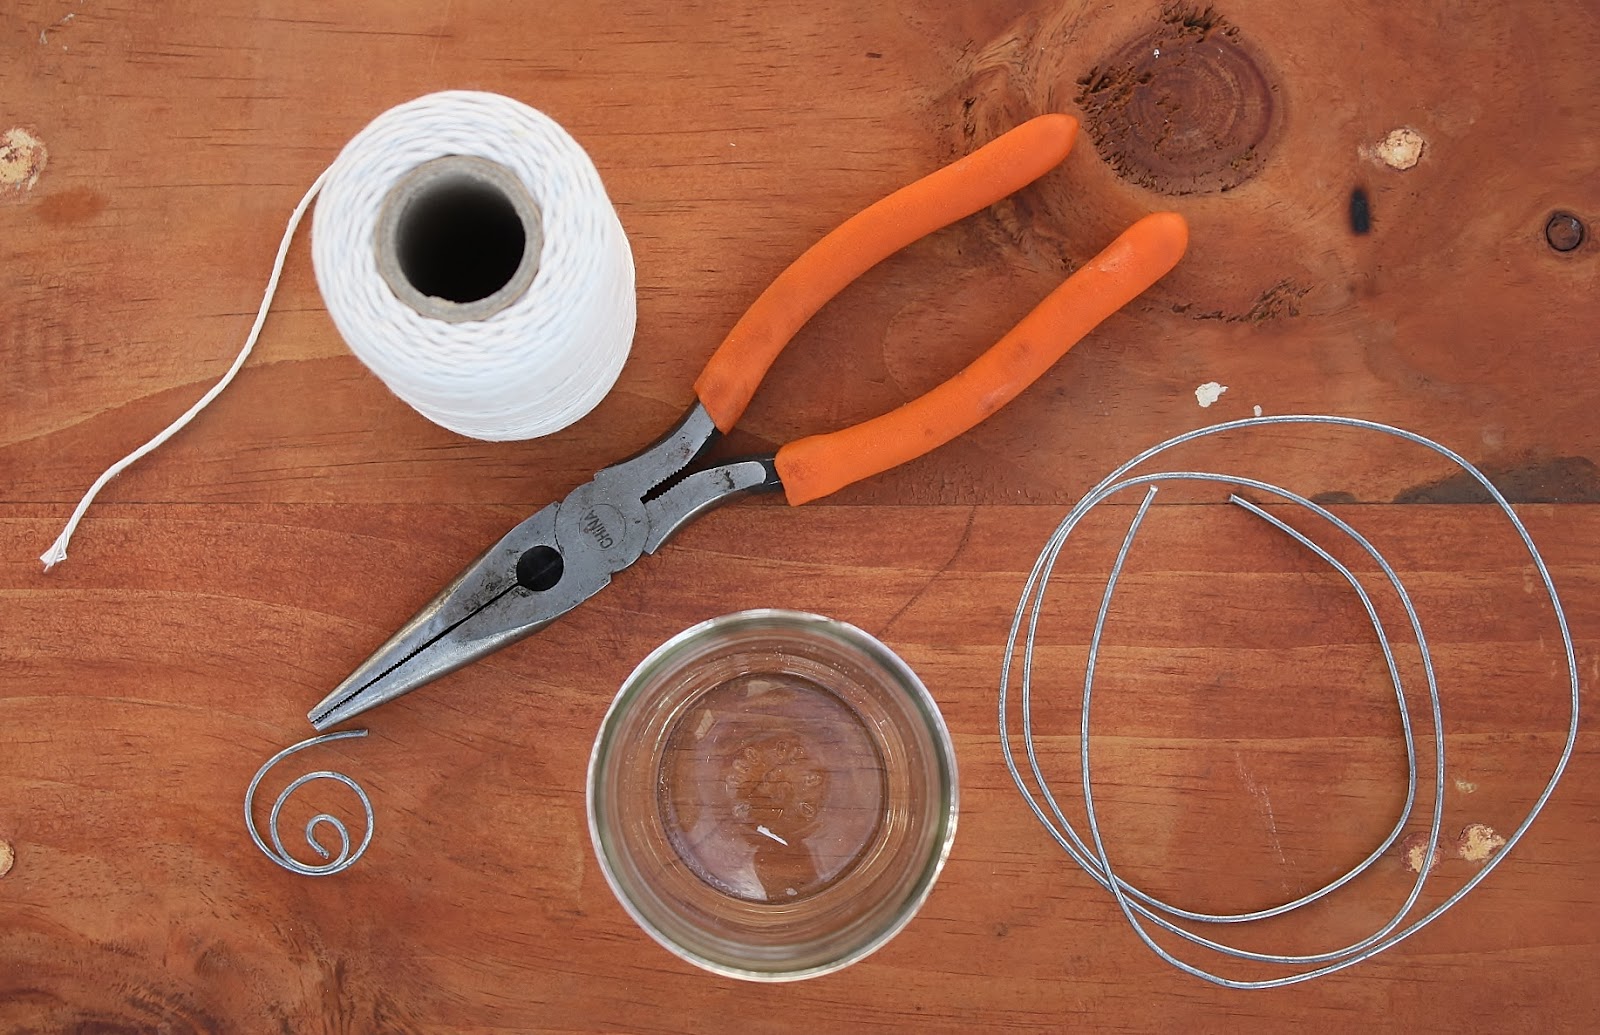
You will need:
  1. Cotton oil candle wicks (or some 100% cotton something)
  2. A vessel for oil (like a half pint glass jar)
  3. Wire
  4. Pliers
  5. Olive oil (not pictured)


How-To-Make-An-Olive-Oil-Lamp.JPG


Step one create the wick holder. To assemble your own olive oil lamp create an apparatus out of the wire for holding the wick. I made a freestanding spiral that holds the wick lightly-pinched though the hole at the top. Careful not to squeeze the wick too tightly because it must stay saturated with oil for efficient burning. You can design a metal hook that hangs from the side of your jar into the olive oil. The side hook method makes the wick easy to lift out and light.
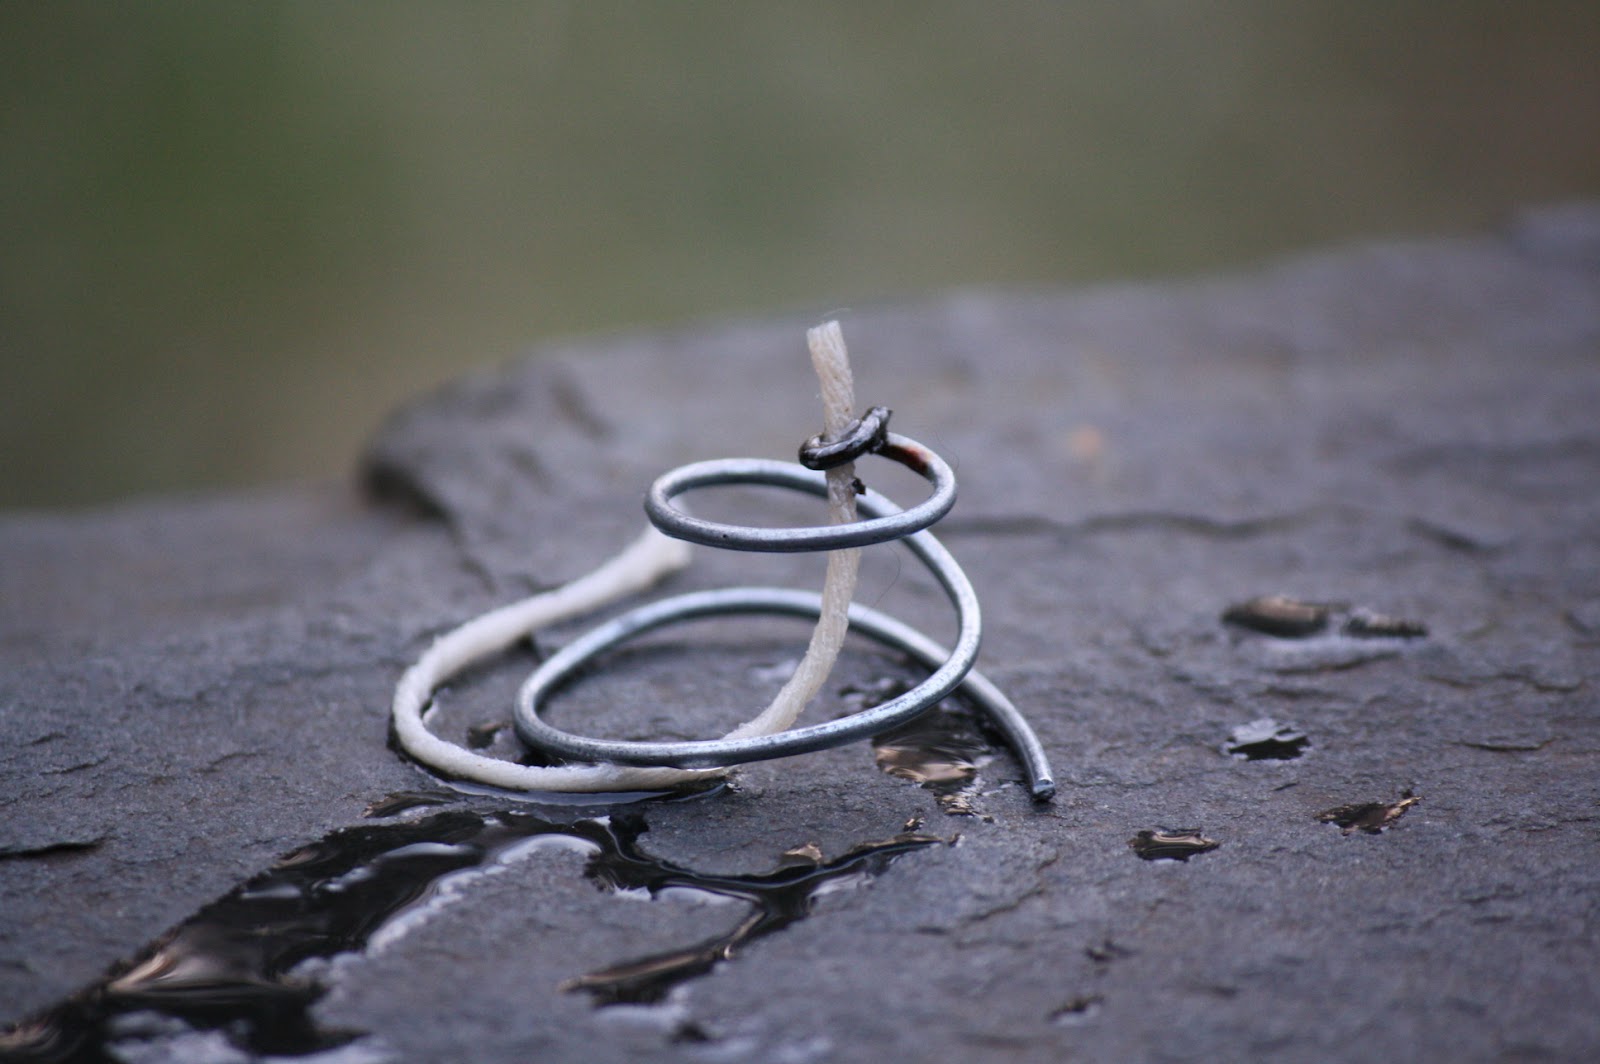
DIY-Olive-Oil-Lamp.JPG


Or if you’re talented with wire art here’s a lasting design perfect for a small jar:
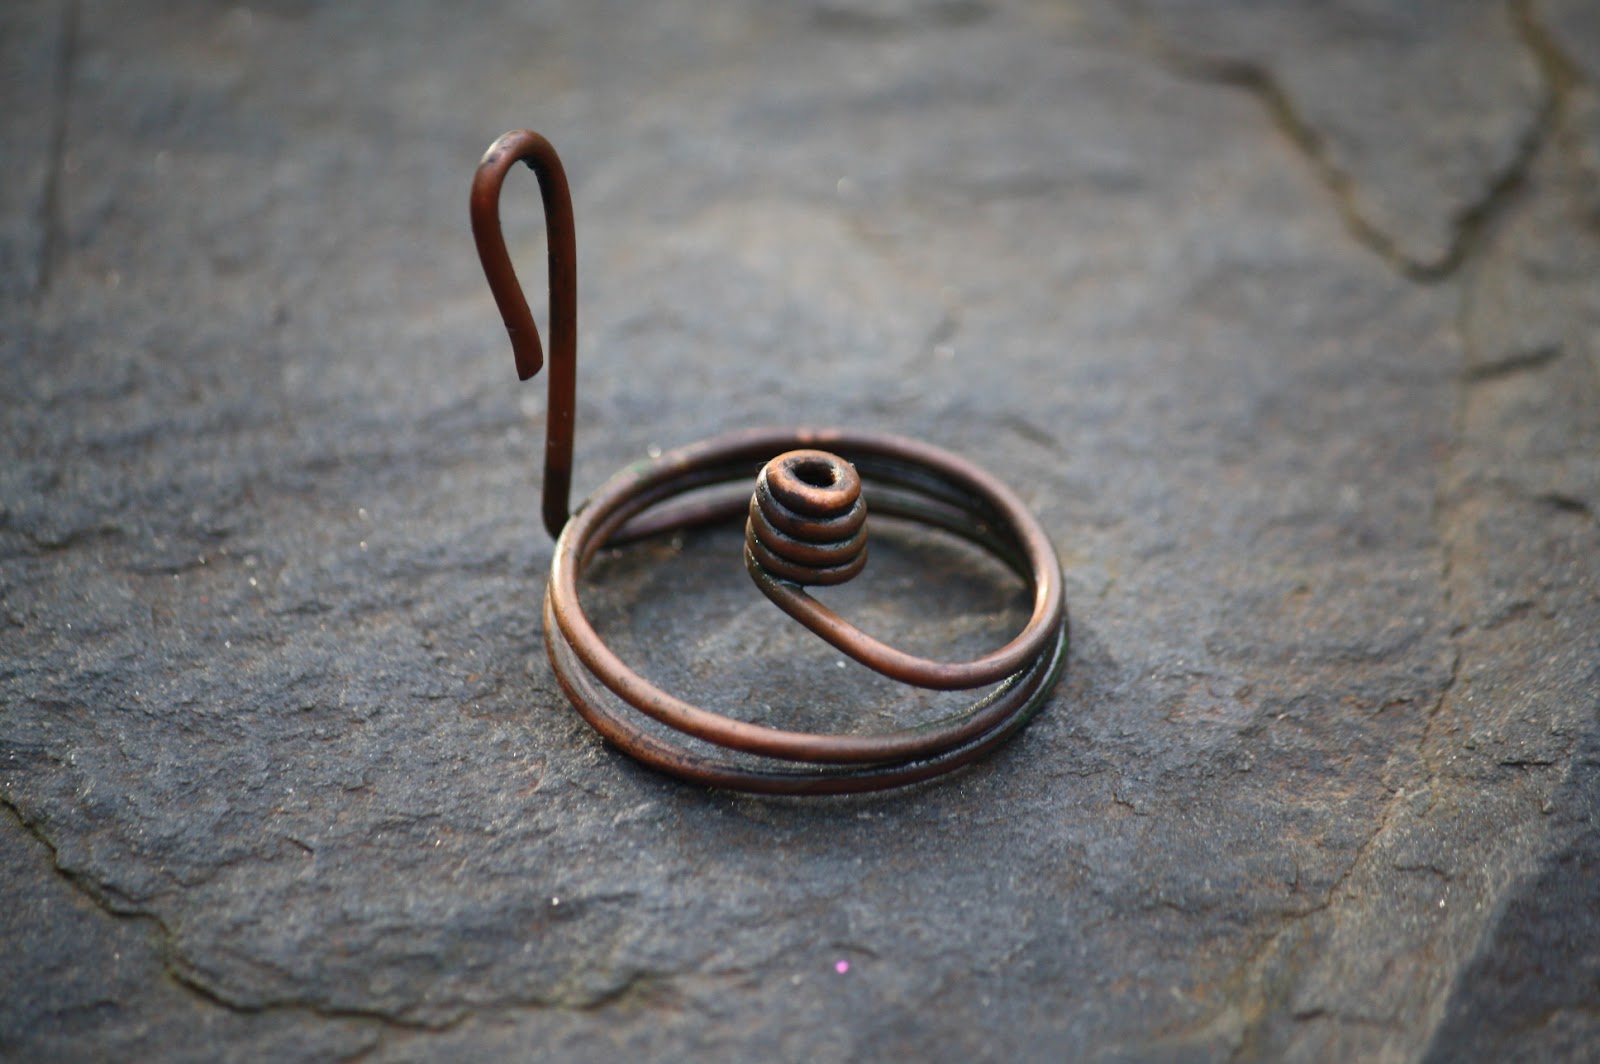

homemade olive oil lamp burner


Step two: adjust wick to burner.
Adjust the wick so about 1/4” sticks above the wire burner.


Step three: add olive oil
Place your wire wick assembly into your container. Add olive oil just above the top of the wire. Squeeze the tip of the wick slightly to remove extra oil and light it with a match or lighter. It is often easiest to light when the coil is lifted and tilted slightly. The key to burning olive oil is to keep the wick saturated with oil at all times.
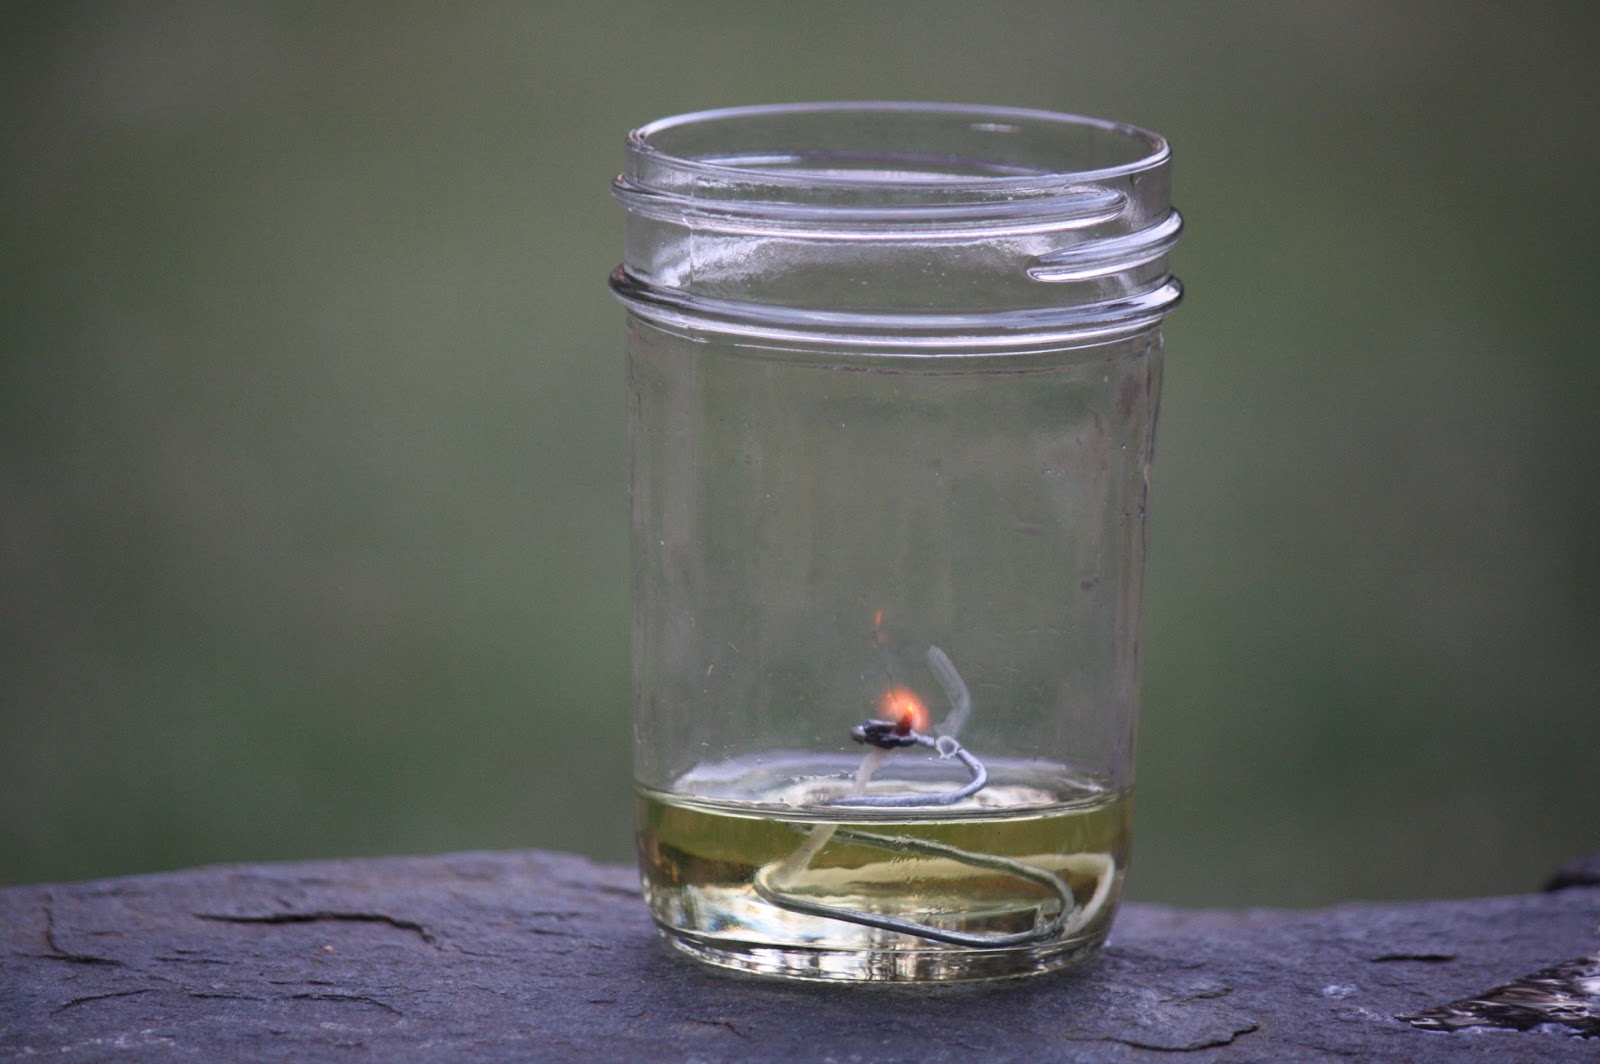

Olive-Oil-Lamp.JPG


About Oil Candle Wicks: I bought a roll of inexpensive industrial cotton string to make my thin small oil candle wick; which produced a small amount of light suitable for reading. I’m new at making my own oil lamps, but with 300 feet of cotton wick I can experiment worry free. No worries if a wick gets ruined in bad oil. If you want more light use a bigger wick. This rope oil candle wick is twice as big and super sturdy.

Read more about burning olive oil in a lamp here.

Tuesday, October 21, 2014

Tips to ensure a safe wood burning season


The Buffalo Mountain in the Blue Ride Mts of Southwest Virginia
With the changing of the leaves, comes the smell of a wood burning stove in the air. There is nothing like a warm fire on a crisp fall evening. With that being said, it is time to get your stove in proper working order (if you haven’t already). A properly maintained chimney is a safe chimney. Taking the necessary steps to ensure that your stove, stovepipe and chimney are in good working order will provide you peace of mind.

1. Chimney inspection

The heart of your heating system is the chimney. A clean and well maintained chimney is essential to your heating system. Most people believe that the chimneys’ only purpose is to vent smoke out of the house but it also allows air to vent into the house, so the value of the chimney cannot be understated. Be aware that over time the chimney can lose structural integrity. Examine the chimney for cracks in the mortar.  It is common for hairline cracks to be present but cracks that are larger and/or follow the pattern of the brick may need to be looked at by professional. Look for brick that has been stained by the creosote, which should look like a dark black stain running down the outside of the brick. This indicates that the crack runs through the chimney, which should be looked by a professional.  These cracks may indicate a chimney fire in the past. Most cracks in chimneys occur in places where the temperature changes are most extreme (attics, just outside the house, ect.). 

2. Flue inspection

Is everything looking good so far? Let’s move on the flue! A good chimney has a clean-out door installed at the base of the chimney. This allows for inspection of the flue and aids in the removal of ash and creosote. Taking a mirror, stick it into the clean-out door and look into the flue to see if there is any clogs or deposits. Another issue that occurs is some animals use the flue to build nest to raise their young. This would be a good time to consider a chimney topper to prevent animals from entering the chimney. If your chimney doesn’t have a chimney topper, please click here.

3. Chimney sweeps

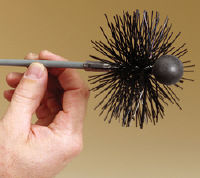
This pellet stove brush is available in three sizes - 3", 4" and 5" - that all attach to a 5 foot cleaning rod. 
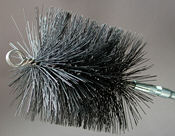
This round stove pipe chimney brush is available in 6", 7" and 8" sizes here.


If you are happy with the inspection so far, lets move on to chimney sweeps. There are many sweeps available for this job. Make sure that a quality brush is used. There are brushes, extension rods, and other accessories available here. The brush should be inserted in the mouth of the chimney (on the roof) and move the brush up and down the length of the chimney to clear it of creosote. Once all of the debris is cleaned from the walls of the chimney, go to the clean out door and remove all the creosote and debris. We a have quality selection of chimney sweeps.

 4. Fireplace         

This is a woodstove in front of a fireplace has been retrofitted to accommodate woodstove pipe connecting to and properly venting from the chimney. 

Any ashes or debris that remains should be shoveled out and disposed of. A stiff bristled brush should be used to remove the excess soot. Inspect the firebrick for cracks and deterioration. This would be a good time to inspect the internal damper to see if it moves freely. The damper allows for the warm air to remain inside the home and not escape outside.

 5. Stovepipe


All of the components of the heating system that we have discussed so far have should have a long life expectancy, however the stove pipe is not one of those components. Stovepipe should be replaced every three or four years because the hot gases erode the metal leaving it dangerously thin. To order replacement stovepipe, please click here. If the stovepipe that you are using is relatively new, you can take a stiff bristled brush and sweep out the pipe. It is very important to have the right clearances between the stove, and combustible material. Keep the stove at least 36 inches away from walls. Set the stove on a 24 gauge steel plate over a wood floor and make sure the plate extends 18 inches beyond where ashes will be removed.  Be sure to buy quality piping from a reliable source and choose stove pipe that is higher gauge, such as 22 or 24 gauge, than the thinner 26 or 28 gauge varieties. Another last word on stovepipe is to install the pipe with the male ends pointing downward and to ensure a sturdy hold, fasten the pipe with sheet metal screws.


 6. Wood stove


Last but not least, we have the wood stove. Remove any ashes that might be left over from the last fire and examine the interior for cracks, especially in areas where the wood tends to bang into walls. If the stove has a catalytic converter, inspect it as described in the owner’s manual. If you do not have an owner’s manual, contact a reputable stove dealer and order a manual. Inspect the door of the stove to determine that the door closes tight. If the door gasket is in good condition, you should be able to feel the door squeeze firmly against the stove itself when you push it closed and turn the latch. If the door does not close snuggly, a fiberglass gasket can be used to fix the problem. If you are interested in installing a gasket in your stove, please click here.Scrape the old gasket out of the groove in the door or if the stove does not have a groove, scrape from around the perimeter of the door. A high temperature adhesive is used to secure the new gasket to the stove. Whenever the gasket is glued to the proper areas, close the door of the stove and leave the door closed tightly for a few hours until the adhesive solidifies. When the adhesive has cured, your wood-fired heating system is ready to go! With the proper maintenance, not only will your woodstove provide you warmth and relaxation but a peace of mind that it will do these things safely. If you require any additional information, please email us at cs@redhillgeneralstore.com or call us at (800)-251-8824.


The winter wind…can almost be soothing. Particularly if one has a healthy hearth.

-Hal Borland

Tuesday, September 2, 2014

How to make a DIY Pallet Garden

We planted leftover spring flowers from Red Hill in Hillsville, Virgina. Once the roots of the plants became more established after a few weeks, we carefully tilted the pallets up on their side. 


Steps
1. Since it's a garden, you don't want any splinters. Remove rough wood using a wire brush
2. Use a sander to smooth the wood and remove a top-most layer of grime.
3. Place landscaping fabric inside of the pallet to hold in dirt. 
4. Secure landscaping fabric with a staple gun along the interior of the pallet. 


Tuesday, May 27, 2014

Make DIY Mason Jar Center Pieces


Mason Jars are becoming the more popular choice for DIY flower centerpieces. These DIY large blue mason jar flower center pieces are choice for weddings, events and other parties. The fresh cut flowers cost $30, while the jars are vintage blue mason jars from Grandma's house. 


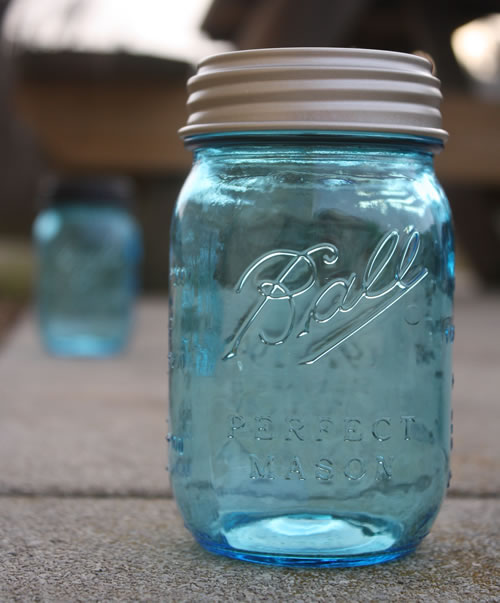
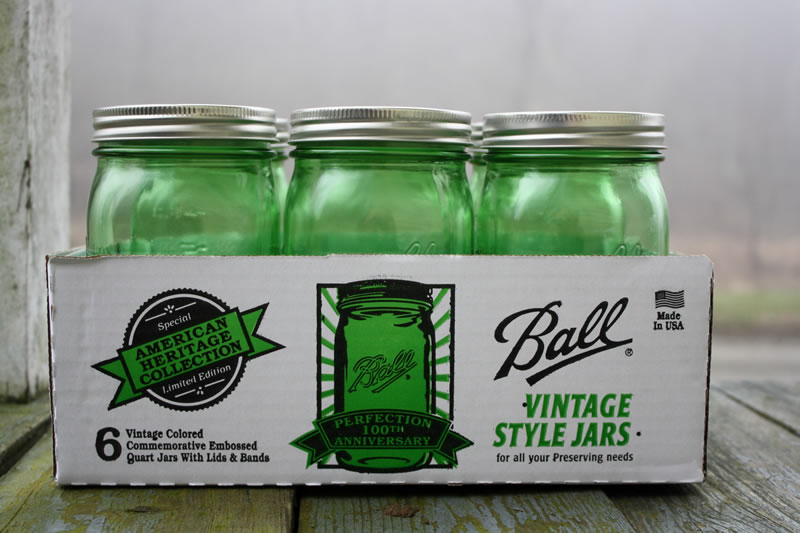
The jars create a lovely, but not overpowering, vase for a naturally beautiful vintage display of flowers, greenery and happiness. Don't have blue or green vintage mason jars? Check out these vintage-inspired limited-edition heritage blue and green jars on our site pressure cooker outlet. 


Heritage Blue Pint Jars (6 per case)
Heritage Green Pint Jars (6 per case)
Heritage Green Quart Jars (6 per case)


Monday, September 9, 2013

Preserving Corn: canning corn and red peppers with basil or pickle Relish with peppers and corn

It's corn's harvest season!

That used to mean it's moonshine season! Neighbors would help a corn farmer shuck corn all day. lots of times a farmer would set a gallon jug of good ol'corn liquor right in the middle; then see who could shuck the fastest - and that person got to enjoy the jug first.

They say, you'd maybe go to maybe a dozen corn shuckin's in one fall. Older people will tell you, it was liquor back in those days. If you had a gallon like they did back then, you could make any kind of medicine you wanted to now.

There is a critical importance of Agriculture to human health, ongoing life, and cultural ritual. The farms and gardens of Appalachia’s people were vital to family survival, and people spent hours and hours around and about their crops and animals. Like in the photo below of my grandparents and their family and friends in the 1970s, the relationships humans have with their animals and food dictate the meaning of community and the quality of life itself.


How about the bad quality of our products today - but we still carry tried and true practical items like the best Black Walnut Cracker available

the recipes

Procure:
15 pounds of corn on the cob
1 pound of red peppers (about three medium)
Basil

Cut corn on the cob. We think this corncutter made of wood makes the process easy. Cut red peppers into strips. Pack corn loosely into hot jars, leaving 1-inch headspace. Add 3 to 4 strips of red pepper and 1/2 tablespoon basil to each jar. Ladle boiling water over corn, leaving 1-inch head space. Remove air bubbles. Adjust two-piece caps. Process 55 minutes at 10 pounds pressure.

Makes about 5 pints.


This is a picture of pickle corn relish - here is the basic recipe -

Soak the chopped vegetables in a large bowl, combine -
3 quarts chopped cucumbers
3 cups each of chopped sweet green and red peppers
1 cup chopped onions)
3/4 cup canning or pickling salt
2 cups ice
4 cups water
and let stand for 4 hours. Use more of each water and ice , if needed to cover the veggies
Drain - Just drain and discard the salt water.
Cover the vegetables with fresh ice water for another hour.
Cover the chopped veggies with the same amount of water and ice (use more of each , if needed to cover) and let it stand for 1 hour more. Drain again and discard the water again.

Mix spices and vinegar
Combine 4 teaspoons each of mustard seed, turmeric, whole allspice, and whole cloves in a spice or cheesecloth bag. Add spices to 2 cups sugar and 6 cups white vinegar. Heat to the vinegar and spice mix to a boil. Pour the spice/vinegar over the chopped vegetables and then cover and refrigerate for 24 hours, (up to 36 hours).

Heat the relish and jars - process the same as above. Remember to leave about 1/4" - 1/2" of head space in your jar.

Keeps for 12 - 18 months!

Sunday, August 18, 2013

Salsa from Red Hill's tomatoes, green peppers and hot peppers

19 pints of tomato salsa were canned last week by Michelle, our manager. She sent this photo and following recipe using foods from Red Hill General Store hoping to help share the art of old-fashioned home-preservation.


I asked her if that's why she made it in the first place. "No," she replied laughing, "I make it because my family loves it and I love them."

Michelle's Recipe - 

1/2 bushel tomatoes scaled, peeled and diced
6-8 large green peppers, diced
6-8 habanera peppers, diced
5 large onions, diced
3 garlic cloves, minced
3 Tbsp. Cilantro
1/2 cup white vinegar
2 tsp. salt
2 cans tomato paste

Mix all ingredients in large sauce pan, heat until warm. Ladle salsa into jars and process in an open kettle for 20 minutes. 

We're also trying this project for the second year - 
Check out the biggest flea market on the east coast!

LinkWithin

Related Posts Plugin for WordPress, Blogger...