
We like fermentation. The cooler temperatures have us thinking about apple cider, cozy blankets — and fermentation. Staying warm inside on a winter day is just right for making crocks of healthy lacto-fermented pickles like kimchi and sauerkraut, or brewing your own beer, kombucha, or even vinegar.
Fermented vegetables begin with lacto-fermentation, a method of food preservation that also enhance the vegetable's nutrition. The living bacteria or probiotics make the minerals in cultured foods more readily available to the body. These bacteria also create enzymes and vitamins that aid in digestion.
Almost any vegetable can be fermented, and fermenting farm-fresh produce is a great way to provide good nutrition year-round! Ferment one vegetable alone or create a mix of many different kinds, along with herbs and spices, for a great variety of cultured foods. Below is what you'll need to get started...
Choose your equipment
While fermenting vegetables does not require a lot of specialized equipment, using the right equipment can make all the difference when getting started. From a good chopping knife to the right fermentation vessel, you'll want to pick equipment to fit your needs.
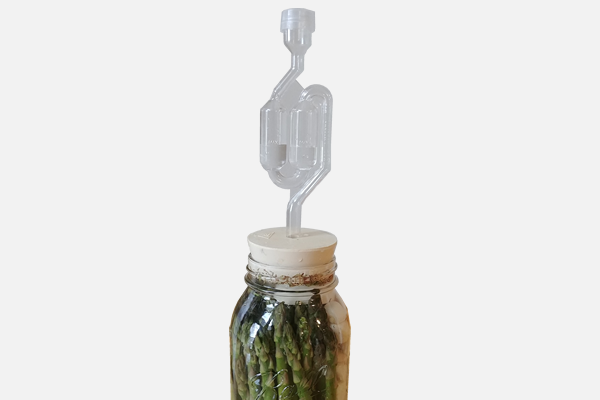
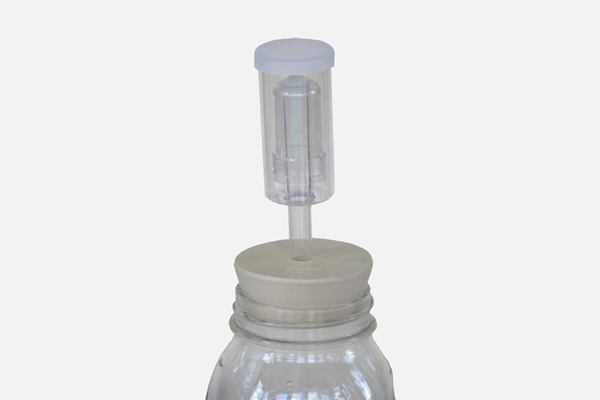
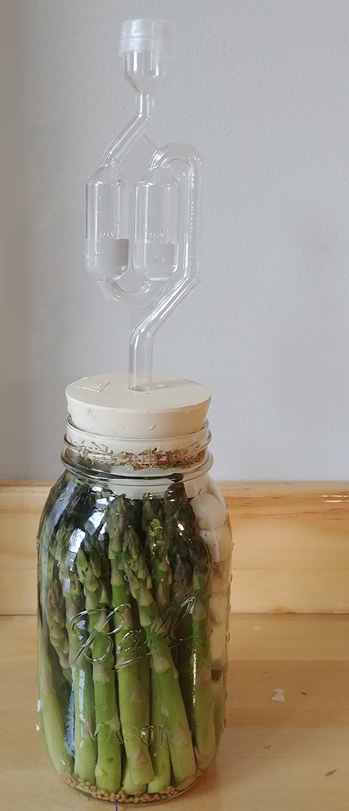
One of our favorite fermentation vessels is a regular glass mason jar paired with a fermentation bung and airlock. The one-way airlock vent ensures quality fermentation and prevents spoilage. These are cost effective and a great way to start fermenting in your own kitchen. Airlocks and bungs for regular mouth mason jars can be purchased here for less than $3.
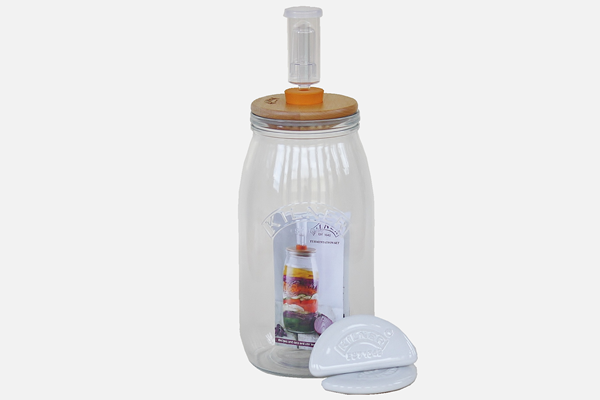
If you don't have your own mason jar to retrofit or if you want some recipes and everything you need in one box - buy the mason jar fermentation kit with everything you need. The kit below is $29.99 and includes an airtight lid, rubber bug, airlock, recipes, and ceramic weights.
I've made plenty of ferments with and without the airlock lid. When I do not use an airlock lid the likelihood of edge mold and contamination increase. With no airlock, there is much more babysitting the ferment to ensure it stays submerged and contaminate free on the day-to-day. I confess I've ruined plenty of ferments without using an airlock lid and it is always sad. With an airlock lid, you can place your ferment inside the jar and forget about it for a week or two until your ready to serve and eat the bubbly nutritious creation. When you use an airlock lid your hard work is gratifying.
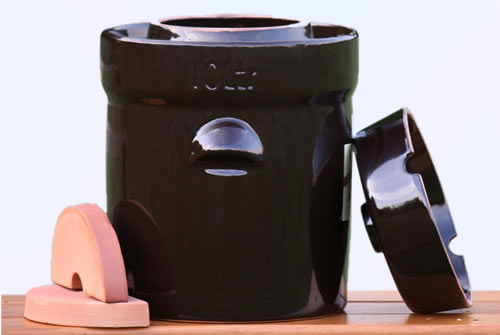
For large fermentation batches, you'll want a crock. The German fermentation crock below is available in four sizes (5, 10, 15 and 20 liters) and includes ceramic weights and a water-sealed airlock lid.
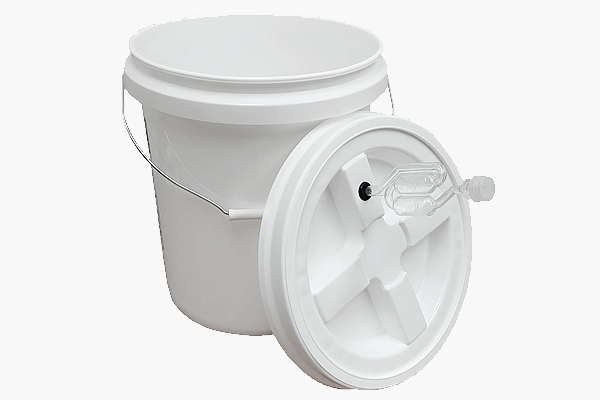
This five-gallon fermenting bucket is food grade and comes with a 1/4" airlock grommet. The gamma-seal lid features an airtight rubber gasket. The airlock grommet is ready to accept an s-shaped bubble airlock or a three-piece airlock. These white 5-gallon fermenting buckets are easy to clean, durable and versatile. Great for making wine, mead or beer.
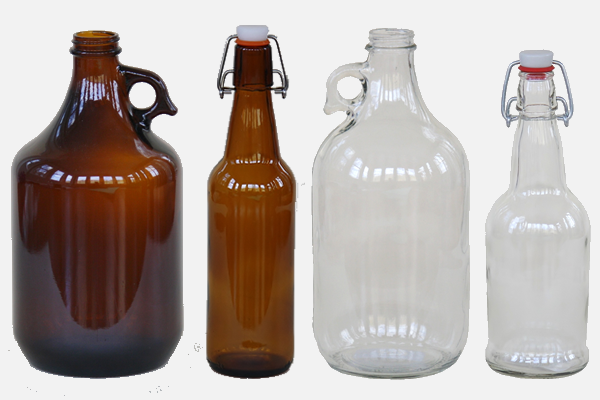
You may want to make your own fermentation setup with rubber bungs to fit any fermentation vessel (we carry eight sizes). Consider secondary beer fermentation or make kombucha in a glass growler. Don't forget swing-top bottles for storage!
Prepare vegetables and brine
There are many several ways to prepare the vegetables for fermenting: grating, shredding, chopping, slicing, or leaving whole. This is a personal choice and it's always great to follow a recipe! Here are three of our very easy favorite recipes:
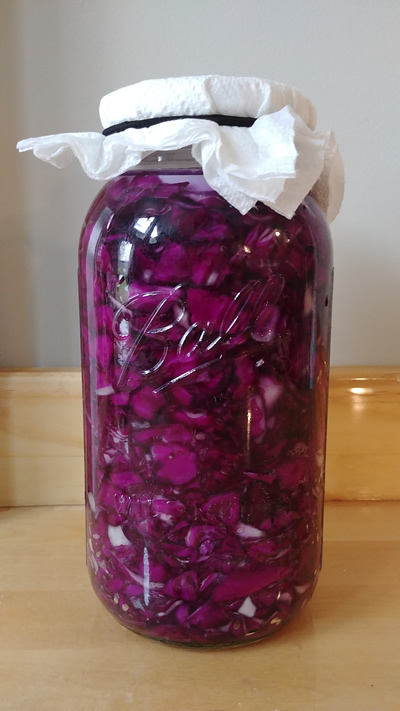

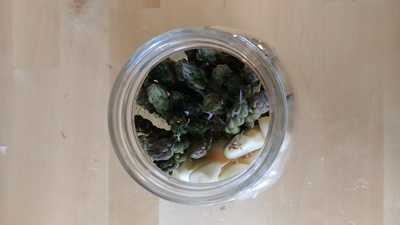
Weigh vegetables down
After veggies have been chopped and put into the fermentation vessel they must be kept under the brine with weights. This creates an anaerobic environment during the fermentation period. After a week or two, your ferment will be ready to eat.
Cold storage
When your ferment has done its thing, it is time to move it to cold storage. Moving your ferment to the fridge drastically slows the active fermentation and digestion process so you can enjoy your creation for the next month or so. Remove the airlock lid and bung and seal with a regular airtight lid.
All of our fermentation airlock supplies are available online or in our Hillsville, Virginia store. Happy DIY probiotic fermenting! What are your fermenting tips? Do you use an airlock lid? What is your favorite thing to ferment? Let us know in the comments!
No comments:
Post a Comment